
Video Review – How to use a Miter Saw
FAQ
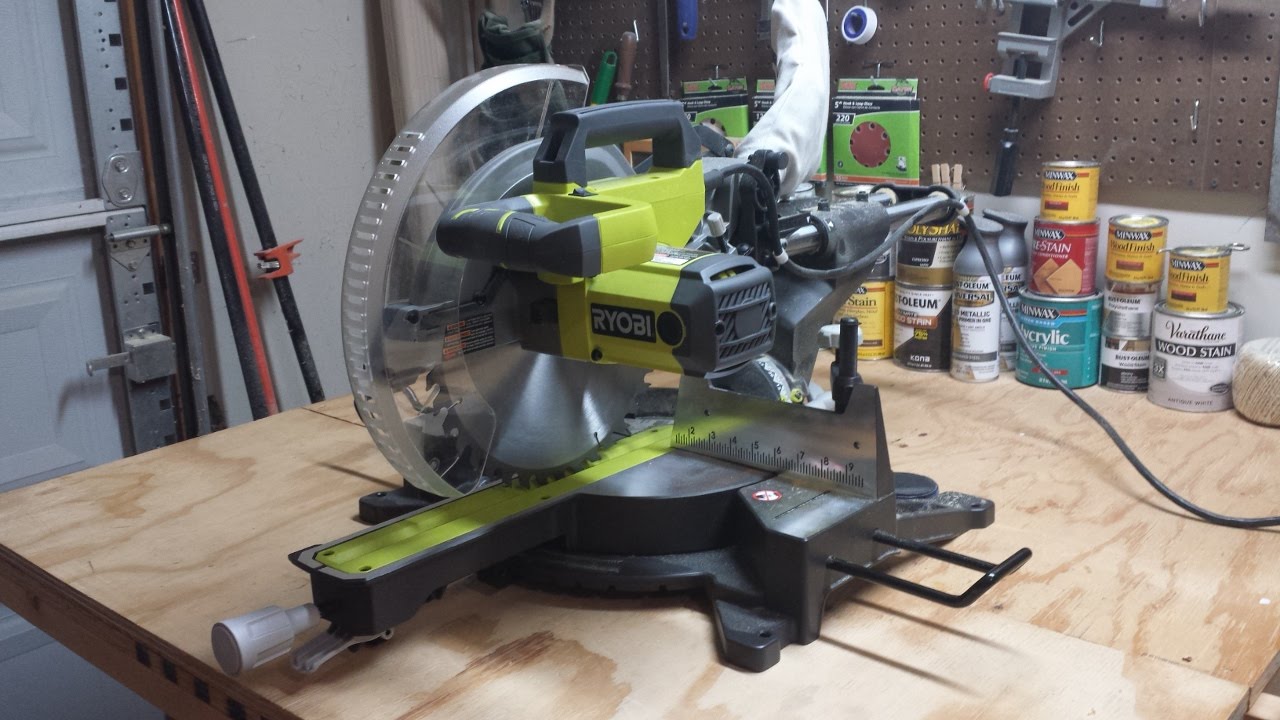
A miter saw is also known as a chop saw or a drop saw. It is a tool that is designed to trim or make accurate cuts through different materials at varying angles.
Take the measurement from the piece of plywood to the surface of the bed’s saw. Carefully tear the plywood, using the appropriate measurements for both top and bottom. Attach the dividers, before screwing runners to the base. Proceed to screw the back and then the top of the plywood back.
From this point, you can place the saw in position using a clamp. Note where the hanger bolts are located, by drilling shallow holes into it. Now, mount the extension fence to align properly with the fence of the miter saw. This can be done with a straightedge. Make sure the extension fence is screwed into the dividers through the top.
To begin this process, make sure each piece of wood is cut at an angle of 22.5 degrees. This helps connect two pieces of baseboard at a 45-degree angle. In order to keep the two pieces of baseboard in place, secure the clamps on the miter box. After determining the cutting location, put the molding or baseboard in the center of the miter box. Put in the hand saw on either side of the miter box on the 22.5-degree slots on the fence. Using a 22.5-degree angle, cut on the baseboard.
To make a 45-degree angle cut, first set the blade to 0 degrees. Put a square on the table and slide it to the blade’s edge, as you lower the saw. Readjust the miter saw, if you find any gaps. Before proceeding to make the cut, make sure the blade of the saw is set at a 45-degree angle. The blade of the saw should remain on the wood until it stops completely.
To make a 70-degree cut, start at a 60-degree angle, to make the measurements and markings. Your speed square should be placed securely on the protruding edge and lumbar flat. Using the pivot point as a guide, align the wood with the 70-degree mark. Next will be to draw a line along the short flat edge of the square. Now you can create your 70-degree angle, by carefully cutting the line.